Assembly Guide for Wood Floater Frames
Maybe you’re still thinking about ordering a snazzy new unassembled frame, or maybe you have already ordered one and need some help with the setup. Either way, you’ll be pleasantly surprised to see just how easy it is to assemble your new beautiful frame!
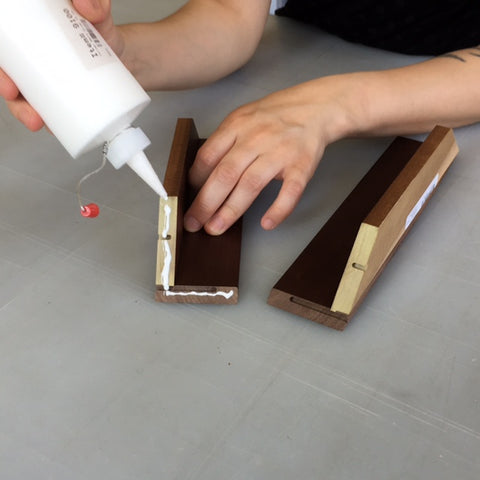
1. Wood glue is applied to the miters and the parts are placed together to form a corner.
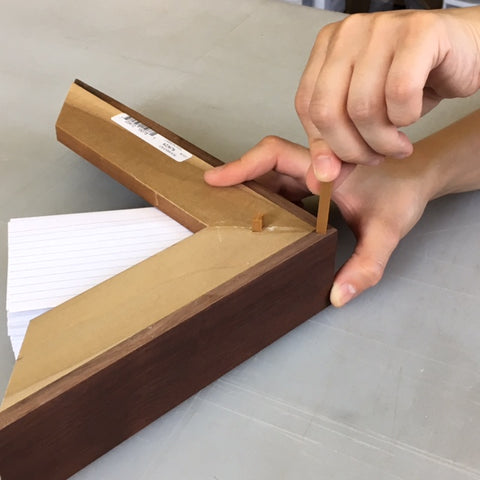

2. Place index cards under the join for support (watch video for more tips). Dovetail Keys are started into keyways by hand and then driven home with a hammer. If the dovetail slot is very close to the outside edge, we suggest you to use a small piece of wood in between the hammer and the dovetail key to prevent damage to the frame.
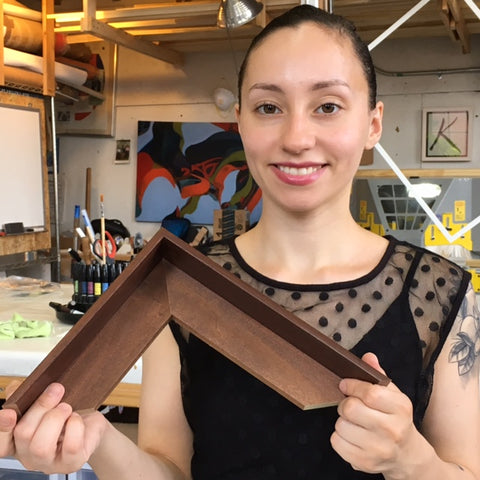
3. A permanent, strong and reliable joint is created.
Need some more visuals? Watch this video to see step-by- step procedures of a variety of dovetailed frames.
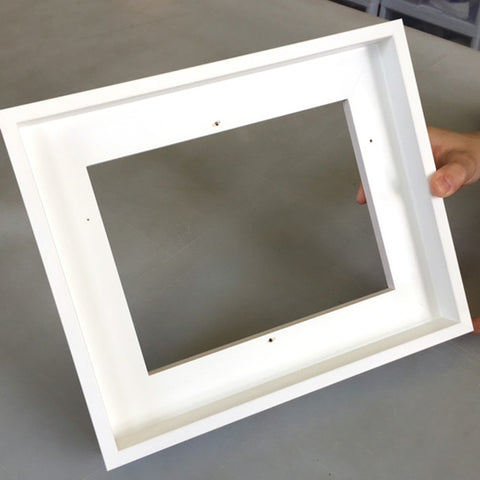
Now, lets place the artwork into the Floater Frame
Assembly tools and supplies: frame, drill, 1/16 to 1/8 drill bit, screws, spacers and artwork.
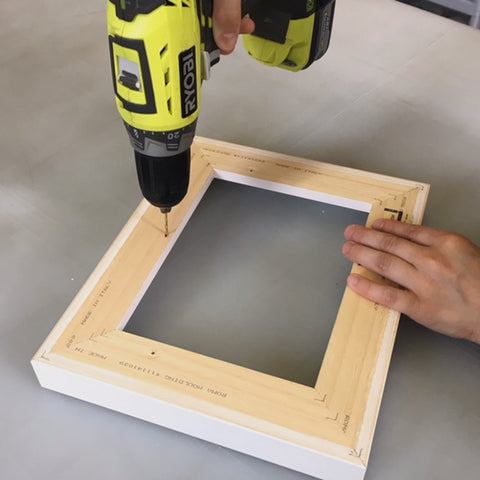
1. Drill evenly spread holes around the frame and closer to the inner edge. Make sure the holes are not visible when you put the artwork in. To have a screw every 18” is recommended.
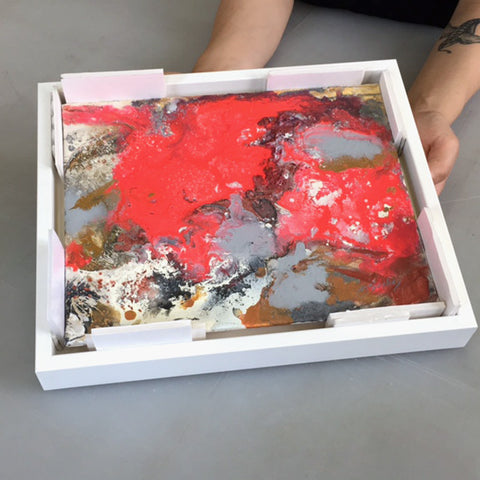
2. Place the artwork into the frame. Place the spacers (Foamboard or mat scraps) in between the frame and the artwork to center it before you drill in the screws.
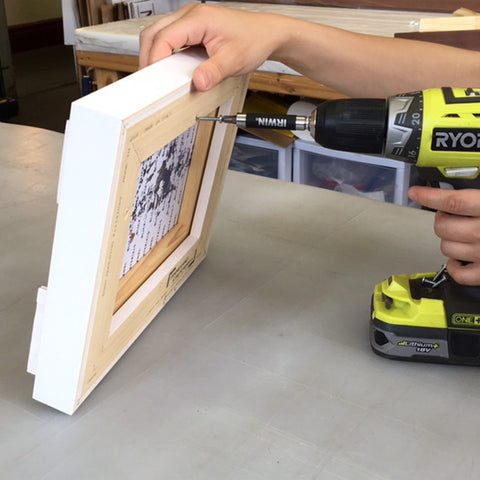
3. Once the artwork is centered, lift the frame slightly off the table so you can drill in the screws from behind. Remove the spacers from the frame.
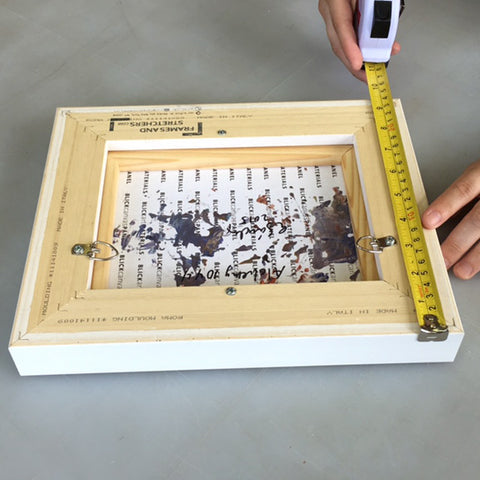
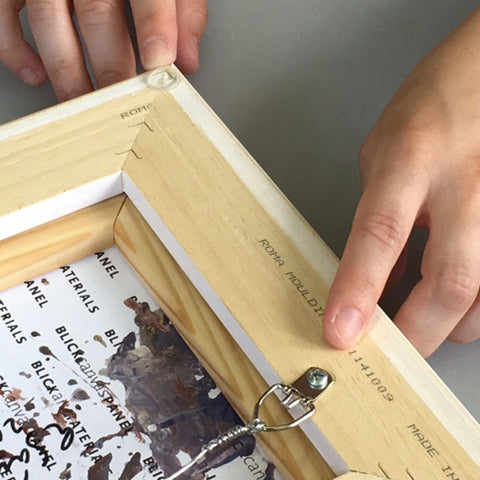
4. Drill and screw in the hangers onto the vertical sides of the frame. Hangers should be 1/4 to 1/3 of the way down from the top. Slip the wire (at least 6” wider than the width of the frame) through its holes in the hangers, then wrap the wire around itself at least five times. Excess wire can either be wrapped or trimmed off. Stick the rubber wall bumper (supplied) onto the bottom two corners. The wall bumpers help keep your picture square on the wall and also help prevent scuffing.
Done! Enjoy your framed artwork.